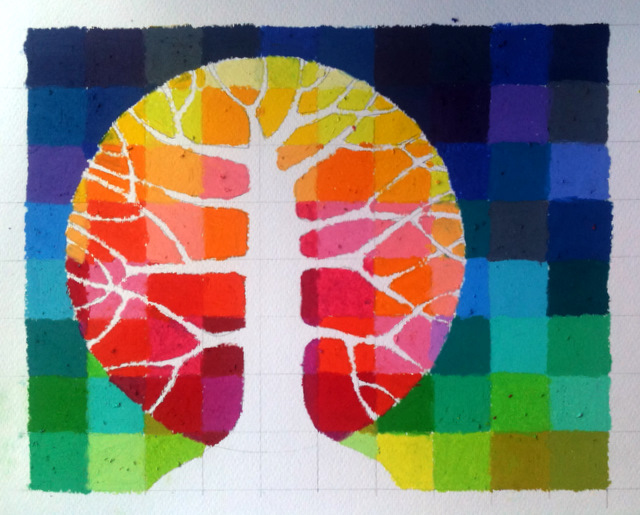
How to Create Light, Textures & Finishes with Dry Pastels?

If you have always been interested in painting and the magic famous artists have created on canvas, then your next artistic mission might be to design a masterpiece of your own. Whether you need a new hobby or your greatest dream is to paint and catch the colors and shadows of the world around you, painting certainly is the best possible choice. It does not take long until you learn about the necessary techniques and material needed for this timeless game of colors. To make your work more unique with interesting light or shading effects, try dry pastels that are easy to use on most surfaces.
How to Use Dry Pastels
Pastels are dry crayons that have been popular ever since man discovered that pictures can be made with a piece of chalk on the cave walls. Nowadays, painters have a wide choice of pastel colors that they can mix or use with wet paints to achieve fascinating levels of light and texture.
What distinguishes pastels from other kinds of painting techniques is that you do not need to wait for one layer to dry to apply the next one; you can leave your work then continue whenever you want to and since they are not wet, the colors can easily be cleaned if you make a mess. Pastel colors work best on textured surfaces, but if you notice the surface does not absorb pigment you can use special fixatives.
Create Light and Reflexion
When you paint with pastels keep in mind that they behave in a different way when compared to wet paints. Since they consist of tiny grains of powder, pastel colors allow light to be reflected from different angles creating a matte effect. To create pictures with more light and natural reflexions, painters use several techniques.
- Sketch drawing allows you to make simple pictures and see how different lights during the day affect your future painting. You should first make a sketch using a pencil, then see what parts of your work need to be painted in dark or light shades of colors. Pastel paintings do look different when looked at from the distance which is why they have been so admired among art enthusiasts.
- Glazing involves applying thin layers of pastel one over another for the impression of more light. You may use it to glaze details on the picture such as the yellow color of the sun on the blue sky or create reflections of the moon on the water surface.
Creating Textures with Pastels
The beauty of painting with pastels is best seen in creating various textures that add excitement. Some of the most used are
- Feathering – this way of adding light is used to help you mix the colors better and achieve interesting effects by drawing lines of one color on top of another in diagonal pattern.
- Scumbling – popular among painters for creating thick layers of color by applying pastels over the bottom layers of color. You can try this technique with dark colors over light, but only one color at a time. This can create wonderful light contrasts if you master the technique.
Finishes with Dry Pastels
Once the painting is ready it requires some finishing touches to fix the colors and edges. Some painters like to leave parts of the picture unfinished so the underpainting or background is seen through, while others put additional layers of pastels to highlight areas or soften edges with fingers. Since dry pastel colors are soft and can change structure over time, it is advisable that the paintings are framed with glass as soon as possible. You may also choose to apply a spray fixative for more protection, but be careful not to use too much as some ingredients can harm or darken the colors.
